Showing posts with label Men's Pyjamas. Show all posts

Monday, 27 January 2014

A nightshirt for me: McCall 8372

After successfully sewing the onesie for The Much Beloved I thought I deserved some night attire of my own.  I couldn't see myself in a one piece.  Too reminiscent of overalls - there would be real danger of me attempting an oil change in one of those.  I took a fancy to something more old school (or should that be skool?).

McCall 8372 is excellent value as a pattern.  Just look at the many garments one can make with it.  I wonder if it was one of the last non-multi-sized patterns.  I ordered the large based on my 42 inch chest measurement.


Those of you who have read the blog will know that I am keen on free or very cheap fabric especially when practicing on a new pattern.  Regulars will also know that I am quite partial to repurposing duvet covers.

I have (had) this wonderful 100% cotton Conran duvet cover bought at Heel's ages ago.  It did years of service on my bed but it must be at least four since I've used it and it now doesn't go with anything.  It's a gorgeous cotton twill ticking and much washing has improved its beautiful soft handle.  I thought it would make a great nightshirt.

The pattern has clear instructions.  Diagrams backed up with directions which take into account whether you are using a straight stitch or zig-zag machine.  There is sufficient seam allowance for  the shoulder, armscye, and side seams to be flat felled.  The neck facings are turned under and top stitched to the wrong side for a neat finish.


The shirt features a rounded patch pocket on the left front.  I made a bit of an effort to get the stripes to match up.  I missed having reverse feed when I edge stitched the pockets.


The applied cuff bands are cut on the long grain which I think makes these stripes really pop in a good way.  They are finished off with a nice bit of edge and top stitching courtesy of the 28K.


The one point where the pattern is slightly vague is when it calls for a five eighths hem giving no further instructions.  I took this to mean - turn under a quarter inch, press, turn over a further three eighths so that the raw edge is enclosed within the second fold, press again, pin and edge stitch in place.  I hope I got it right?


The curved hem creates a shallow split where it meets the side seam.  I had to do a certain amount of fudging where the flat fell and the narrow hem meet.  It looks a lot better from the RS and is holding up to washing so far…


I made the buttonholes and sewed on the buttons using the Singer 401G and Singer slant buttonholer.  Results are consistent.  The 28K showed off a bit more with the topstitching on the front placket.


The buttons themselves are vintage brace buttons from Ede and Ravenscroft, robe makers to the Queen. High end or what?  They are rather bigger than the half inch shirt buttons recommended by the pattern but I think they are more in scale with the relaxed characteristics of the night shirt and the colour is perfect.


The finished garment is roomy but then I suppose it should be.  The fabric feels great - soft, comfy and cosy.  I made this nightshirt for a bit a giggle but have ended up wearing it quite a lot.  I used nearly half of a double sized duvet cover, thread left over from another project and three of six buttons from some worn out suit trousers.  So in theory my night shirt cost me only my time and I still have enough of everything left to make another.


"Hey - that's really nice.  I can't tell that it didn't come from a store," said The Much Beloved.  Would that be the ultimate compliment by any chance?


Monday, 20 January 2014

A onesie for The Much Belovéd: Kwik Sew K3713

It seems like onesies are ubiquitous at the moment even here at Oil and Thread where we seldom follow fashion.  According to the stats the likelihood is that by now you either own a Onesie or know someone who does.  I am guessing that fewer people have actually sewn a onesie.  Unless they happen to have a copy of Kwik Sew K3713 lying around.


I thought this pattern might appeal to The Much Belovéd.  He seemed genuinely pleased when he first saw it and quite excited when I finally got down to work on it.  He tends to run around barefoot quite a bit so we agreed on version B the footless sleep suit.

I was inspired by the colour scheme on the pattern envelope and the very reasonable price of red cotton flannel.  An error on my part concerning the fabric width led me to buying twice as much winceyette as required.  During the weekend I spent shrinking, drying and ironing this fabric it felt like we were swathed in acres of red brushed cotton.

Red rag to a bull?

The pattern really isn't complicated and the instructions are first rate.  The biggest challenge is the size of the pieces.  Laying out and cutting took up a lot of space.  It's lucky the dinning table has that extra leaf!  Once the fabric was cut its size made it more than a bit of a handful.


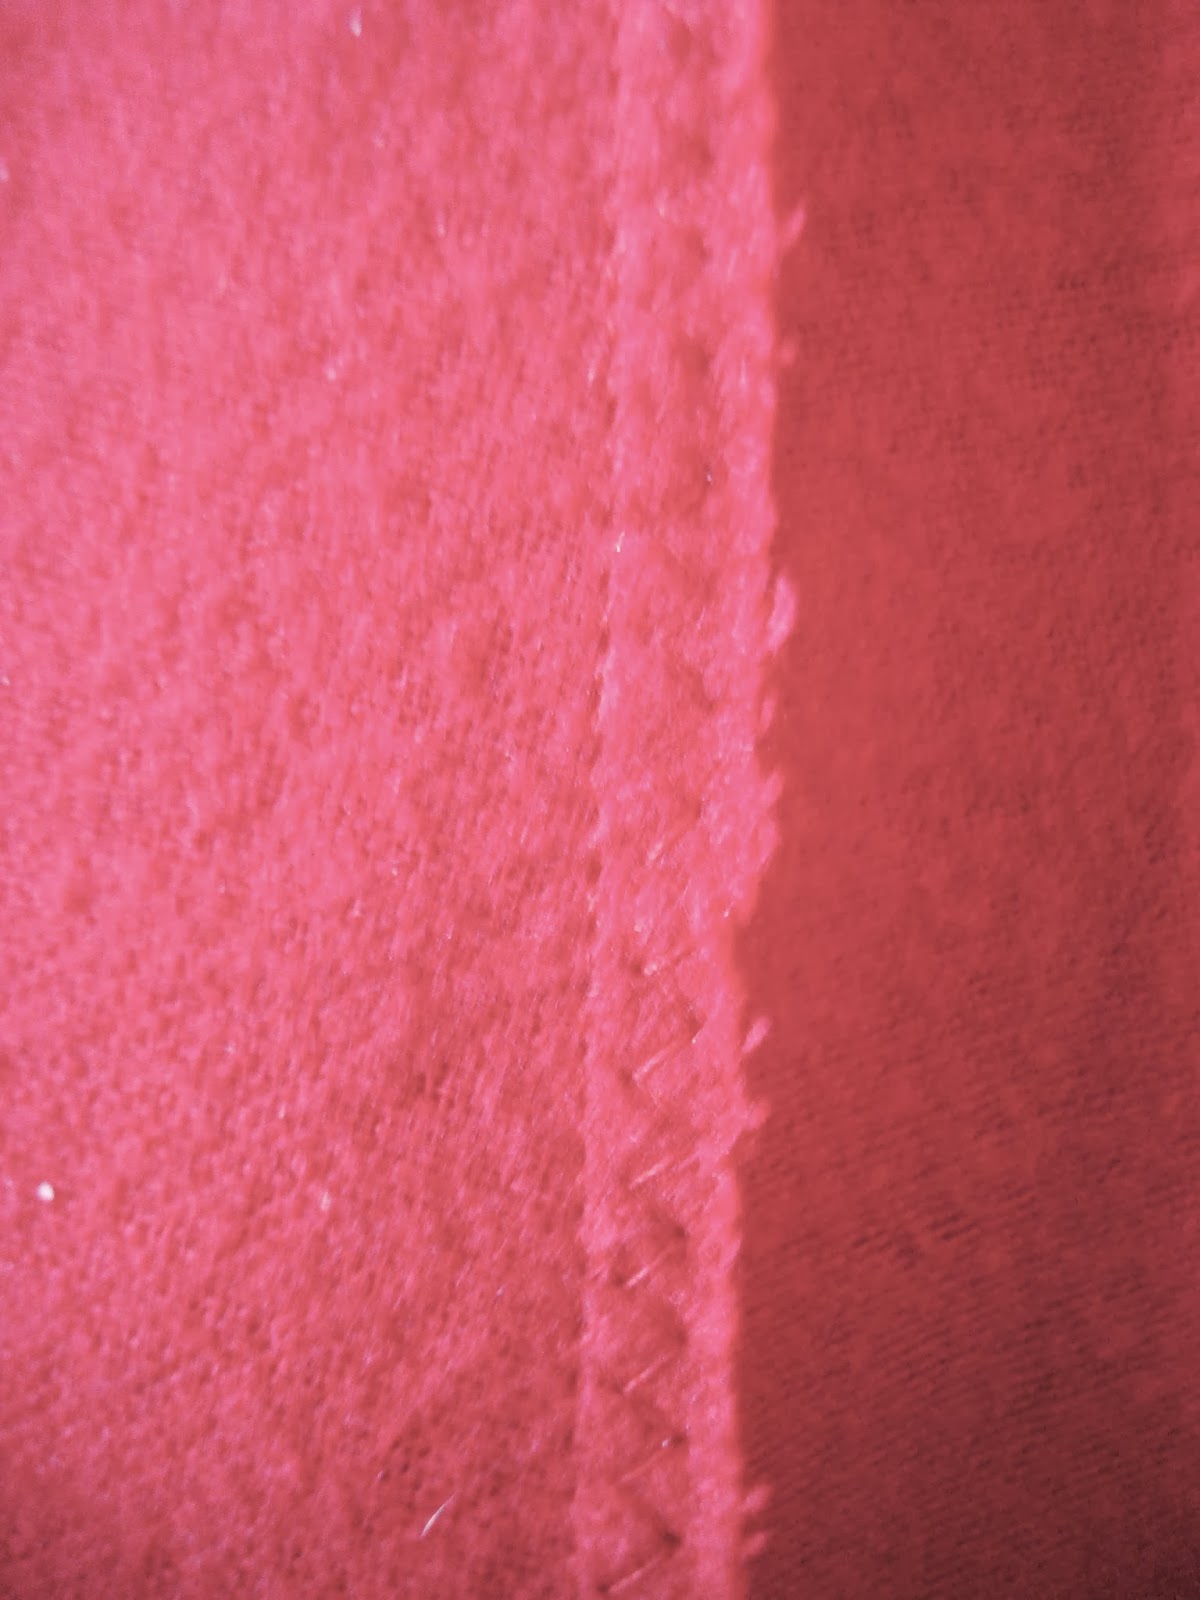
The pattern includes a quarter inch seam allowances which are finished by zigzagging together - must be a job for the trusty 401G.  I heeded all my old sewing machine instruction books' warnings about shortening the stitch length and lightening the tension when sewing flannel.  I think this is supposed to allow the seams to 'give' a little during wear.  Kwik Sew's quarter inch seam allowances mean no trimming - refreshing!

This shade of red has proven to be virtually impossible to photograph!


The neckband and cuffs are sewn into the main body and finished in the same way.


This was my first go at sewing stretchy knits.  I did invest in some Organ needles designed especially for stretch fabric and I played it safe by sewing with my 'modern' machine.  I quite enjoyed the experience and the results are encouraging.


The pattern includes directions for either buttons or snap fastenings.  TMB put in a special request for snap fastenings so that meant buying some new kit.  I may post a full tutorial on fitting snaps at a later date.  They went on without any trouble at all and I think they work well with this pattern.


The pattern is a very generously sized.  I cut the medium based on the measurements on the pattern envelope but in my opinion the finished garment is a shade too big for TBM.  It's actually a better fit on me and I am nearer a large these days.  If I made another (remember I ended up with enough fabric for two) I would either make the small for TMB or reduce the length of the body by 1-2 inches.  TMB was however delighted with his roomy new onesie.  The proof has been in the wearing with the onesie making regular appearances at the weekend breakfast table!

The owner was not available for modelling today

Saturday, 15 June 2013

PJ Pants

Simplicity 0501 is a free download available here.  It's one of those patterns where you mess about printing it on 25 sheets of paper, match the sheets up, and stick them together with tape.


As this pattern only has two simple pattern pieces this is not too onerous a task but I don't think I'd be up for doing this with anything more complicated. Overlapping printer paper and tape make the pattern rather heavy but it all works.  I used shears to cut out.  I am not too good at curves with the rotary cutter.


The really great thing about this pattern are the lovely clear instructions. They really are written with the beginner in mind. I love the fact that they explain how to cut a double thickness of directional print by folding the fabric in half lengthways, cutting and then rotating one piece by 180 degrees - simple when you think about it right?


Those who have been following events here at Oil and Thread may remember that I wound a class 15 bobbin with navy thread ready for this project back in March! I remembered this and the as the Singer 15K was still out from making the tailor's ham the choice of machine for this project was automatic.


The first step, having cut out the fabric, is to make two button holes, near the waist, for the draw string. I usually like to make button holes with an automatic Singer buttonholer (the kind that takes a template) on my Singer 401G. This attachment (which is fab and I will show you someday) only fits Singer slant shank machines. I didn't want to drag out and set up another machine so I thought it better to try out this buttonholer, also made by Singer, which fits standard low shank sewing machines.

Singer 15 with button hole attachment
Add caption
As far as I know this model of buttonholer is more common in the UK and Australia.  It is the cream and red, face-lifted, version of the type where buttonhole length, width, bite and stitch length are all independantly adjustable.  This means that making sample buttonholes is a must!  It's a little scary but I work systematically. Get the lenth right first, then the width and the bite need to be adjusted in close conjunction with each other to produce an acceptable buttonhole. My aim, based on the pattern markings, was a half inch button hole that was wide enough for me to cut with my seam ripper and embroidery scissors.  It took me four goes to produce something I thought garment-worthy.

Button hole, bottom left passed the test!

I remembered to strengthen the button holes with interfacing saved from the cuffs of the white shirt I repurposed to make the log cabin quilt.  It's sew in rather than fusible.  I don't think that this will matter.


I am a happiest working with straight stitch machines and a real fan of flat felled and French seams so I deviated from the pattern instructions which suggested pinking and overcasting the seam allowances.  I sewed the inside leg seams, wrong sides together so that my flat felled seams would appear as a design detail on the outside of the garment.


This leaves the inside, which will be in contact with the wearer, as smooth and flush as possible.


The new tailors ham made pressing the seams so much easier.  I am a convert!

I am really happy with the way these have turned out.