Showing posts with label Hems. Show all posts

Wednesday 17 February 2016

You say pants but I say trousers

A few months ago The Much Belovéd arrived home with two new pairs of trousers both of them of the long unfinished hem variety.
"Would you be able to shorten these for me please?" he asked.
"Yes of course darling.  I would be delighted to help you with that."  I replied knowing full well that I have never pinned or hemmed expensive wool trousers before in my life.  The last time TMB got a tailor to do this for him I was less than complimentary about the outcome so let us just say that failure, on this occasion, would not be an option.

I have restitched the hems of my own trousers on the odd occasion when then have needed repair but I have never tackled the whole job from scratch and I knew I was going to need to top notch guidance on exactly what to do.

I turned to my copy of Roberto Cabrera and Patricia Flaherty Meyers, 'Classic Tailoring Techniques: A Construction Guide for Women's Wear', (New York 1984).  This may seem an odd choice as I was altering gent's trousers but at the time I wanted to buy Cabrera's book the Menswear version was rather hard and or expensive to track down.  It was republished towards the middle of last year so I now have a copy of both.  The instructions are concise but clear and equally applicable to trousers worn by men or women.


I had TMB try the trousers on with a pair of shoes and pinned up the legs so that the hem reached roughy the middle of the back of his shoe and broke gently on the instep at the front.  Cabrera and I both agree that this is the right length for trousers some modern retailers disagree and favour the concertina look!  I got him to walk around a bit, look in the mirror and try sitting down to get his approval on the length before he took the trousers off again.

The next step was to mark the fold of the hem on the right side using chalk.  Wow! Chalk really works much better on wool flannel than it does on cotton poplin.  The amount left was obviously far too much to turn under as a hem I would have to cut some of the fabric away.


So I chalked another line about two inches below...


Took a deep breath and chopped.  I was VERY nervous about cutting into these but needs must.  I didn't really like the way that my nice clean cut edge began to fray so quickly.  Maybe I should have used the pinking shears but I hadn't so there you go.  I used the scraps to trial a machine zigzag to finish the raw edge but I didn't like the outcome.


I opted instead for something decidedly more old school.  Over casting the edge by hand.  This is a technique I had seen in an online reproduction of a very old leaflet on seam finishes.  It took a bit of time but it sewing by hand without a deadline is very therapeutic, especially when the daylight is good.


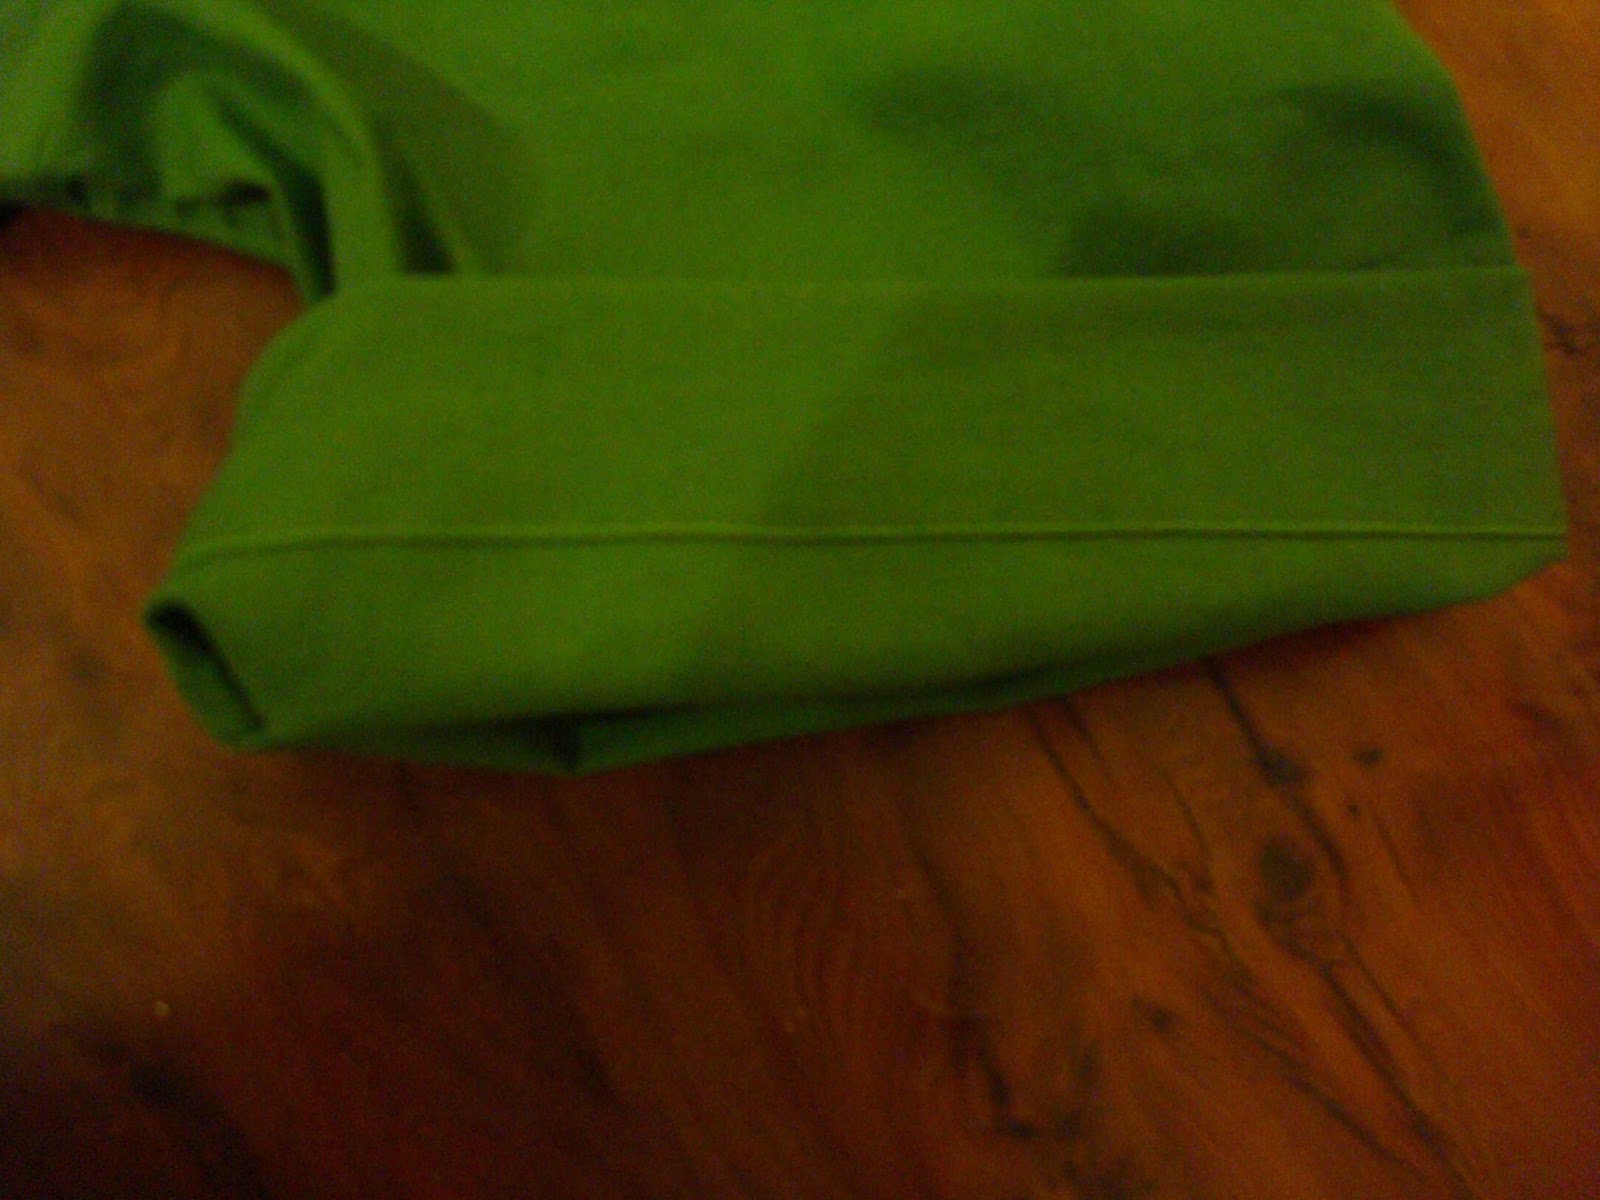
I turned the trouser leg inside out and pinned the hem back up along the chalked fold line.


And then tacked the the hem up keeping the stitches about an inch down from the top of the hem.  A really great tip is to insert a piece of cardboard into the trouser leg to stop yourself from tacking one side of the leg right through to the other.  I used part of a cereal box.


Then I turned the trousers right side out again and steam pressed the hem flat - nice!


Then I stitched the hems by hand trying to keep my stitches small enough to be invisible and loose enough not to pucker.  The result was perhaps not the work of a master tailor but I was satisfied and even better than that so was the prospective wearer.  On balance I really enjoyed the challenge.  Working with wool was a nice change and I am sore tempted to set to and sew myself a pair of tailored trousers sometime during 2016.


Wednesday 20 January 2016

Oliver + S: Family Reunion Dress


This is a dress I made around the end of 2014 in readiness for Christmas of that year.  I never got around to blogging about at the time.  I did however take some photographs during making up.  I bought the digital version of the pattern, printed it all out and stuck it together with tape.  I don't mind the process too much.  My version is sized to 24 months.  At the time the recipient was only 16 months but I pictured this dress getting more wear during the following summer and as it was intended to be a surprise I allowed lots of margin for growth.

I had a nice pale blue 100% cotton print in the stash, a little fusible interfacing and some reused shirt buttons.  The apparently simple, short-sleeved, A-line dress has quite a bit of detail.


The dress is shaped by tucks over the chest and back.  I sewed the dress using the Singer 201K treadle and used a vintage tuck marker to help me form the tucks.  Using the vintage attachment was fun but I would imagine that with careful measurements and thread marking one could easily manage without.


The dress buttons up the back.  I made the buttonholes on the Singer 201K fitted with Greist buttonholer.  The neckline facing is interesting in that it is turned to the right side and edge stitched in place.


The pattern has nice deep seam allowances and gives the usual modern instructions for finishing them with a zig-zag, serger or however else you might wish to.  I cribbed Muv's flat felled shoulder seams from the child's dress pattern she drafted and made.  The sleeves are hemmed, gathered and attached to the armscye before the side seams are closed.  I finished the sleeve head seam allowance with a zig-zag using the Singer 401G.  This was quick but if I made the pattern again I might make matching bias and use that to bind this seam. 


I used good old reliable French seams to close the sides of the dress which just made my zig-zag short cut on the armholes look even sloppier.

The pattern made quite a feature of what Oliver+S calls its signature hem.  This consists of a deep hem facing, worthy of the 1840s, turned to the inside and edge stitched.


The facing is then decorated with an additional five rows of topstitching spaced at quarter inch intervals.  The result is a good looking, firm hem which hangs well and is suggestive of hard wear.

This was a a very sweet little project to sew.  I would definitely make it again and would look at using Oliver+S patterns again in the future.

Sunday 30 November 2014

Another apron with a gathered ruffle

This ruffled apron is separated from the first by about eighteen months of time.  The first was such a hit with the ladies of the family that a second was needed to prevent a charge of favouritism on my part.  I was able to take more detailed pictures of the second apron before I gave it away to my Mam.


This apron is made of printed cotton poplin and lined with some plain white poly-cotton so that the raw edge of the ruffle is fully enclosed and the apron has a nice amount of heft, or body, or whatever you want to call it.


 The curved patch pocket is edge-stitched in place.  The side seams are angled slightly toward the top so that the pocket forms an open bag.


This being apron mkII I knew that I wanted to make sure to match the bobbin thread to the white lining fabric rather than to the green pocket.  Sewing with two different colours of thread is a dead giveaway for uneven tensions so full marks to the Singer 15K80 I sewed this with!


The ruffle is gathered at a ratio of 2:1.  When I first used this pattern I sewed the running stitch for the gathering by hand.  This time I was bold, I was brave, I was fearless and used a vintage Singer ruffler attachment.  I had to mess about with scraps a bit to get the fullness of the gathers as I wanted them.  I wasn't quite brave enough to use the ruffler to gather and sew the ruffle onto the apron in one operation as the old manuals suggest is possible - one step at a time!  I probably didn't save much time but using the ruffler was a lot of fun and the results are a pleasing firm even gather.


The instructions on finishing the ties are pretty nifty too.  The square ends are folded in on themselves at 45 degrees to produce neat points that are pressed and edge-stitched in place.


And one last close up of the hemmed edge of the ruffle in case any one is any doubt over how tasty the stitches produced by a 56 year old machine really are!


Sunday 6 April 2014

It's curtains… for the sewing room

I moved house twice in 2013.  I have been lucky in that both of the dwellings allow for a designated sewing room.  Some of you will remember the first one from the blog entry last Summer.  The second has seen more service as a spare bedroom than for sewing.  I think this is because it is equipped with a futon rather than a decent cutting table.  It does however have a fantastic 1930s sideboard in which to store fabric, haberdashery and patterns and the room has enough floorspace for the Singer 201K in its cabinet.

The previous owners left behind a black-out roller blind and an empty curtain track so I thought I would have a go at curtains.

I was inspired, in part by one of my Christmas presents [am I really blogging about Christmas presents in April?] Sewing Machine Basics by Jane Bolsover...


… which contains instructions on how to make sheer curtains…


...and partly by a pair of poly chiffon curtains that came from one of The Much Belovéd's previous residences.  The curtains would not typically be my first choice of fabric but they were unlikely to be used again elsewhere, sheer and would therefore work well with the existing blind, free and available and therefore of no consequence should I happen to ruin them.


I laid a curtain out on the floor which was the only place big enough to do so.  The top of the curtain was finished with a tab top and the bottom partially finished with an overlocker.  I suppose the idea was to hem them yourself to the required length.  I rather suspect that this pair of curtains may have been supplied with their own packed of fusible webbing for just that purpose.

The tab top wasn't going to be much use to me because the type of curtain track I had inherited so the first thing to do was to get rid of it.  I set about it with my sharp shears.  The nasty plasticky label also disappeared along with the top hem.  Imagine putting a great heavy label like that on an item made of transparent fabric!


This operation left me with a long piece of cloth, hemmed on two sides, overlocked across the bottom width, with raw across the top.  Each curtain was more or less the width of my window and, from what I had read, using both would give me a nice fullness when gathered over the window.

The next step was to turn my attention to that overlocked bottom edge.  I decided to look upon that partial finishing as a gift on this slippery sliding shifting fabric and use it to help me produce my hem.
I began by turning up 1½ inches.  I turn the folded edge up again so that the line of overlocking was enclosed by my first fold.  This gave the bottom hem a triple thickness and a nice bit of heft which should help with the hang of the finished curtains.   I felt the need to use a great many pins to hold this turning in place.  The fabric handled something like a cross between a crisp packet and a bin liner.

The instructions in the book are to pin and then hand baste (tack) every bit of sewing you do.  I am sure that this approach produces fantastically neat results… … eventually.  A big apology to the purists but I just couldn't face that kind of investment of time in a piece of second hand polyester.  I managed to produce a decent hem using plenty of pins and the 1936 Singer 99K hand crank.  The machine handled a fabric which would not be invented until five years after it was built pretty well I thought.  I was sure to use a light tension to avoid puckering though.  I used a cool iron to press the hem because I was terrified the fabric might melt.  It just about holds a crease but not for very long.  More on how things went at the other end of the curtain next time!

Tuesday 25 June 2013

Negroni Shirt - Part V

Thank you all for the comments over the last couple of days. Your sound counsel has kept me going with my Negroni. I have heeded your advice, and my gut instinct, and ploughed on with what is, and even from the outset was intended to be, a practice piece.

Since my last post I have attached the sleeves to the shirt with a flat felled seam as per the directions.  This didn't go too badly.  Nice clear directions that really work.
The sleeves went in quite well. The sleeve cap of the first was a little longer than the armscye (maybe 3/4"?) but the second was very nearly an exact match.

This is not my best work (I have lost my parallel  on this top stitching) but as I look again at the pictures it's really not that bad either.  
I have sewn up the side seams. This picture is taken from the inside of the shirt (note the outline of one of the pockets). I went to a bit of bother to try and get these right. There is a slight tuck where the side seam crosses the armscye seam. That point was the tricky bit. The difficulty  I experienced there made me want to examine the ready to wear shirt I was wearing more closely. The seam I found under the arm of my factory made shirt made me feel better about my own work.

Next up were the sleeve hems.  Back on familiar territory and back on song with my stitching.  Both sleeves are the same length and the same width!
Last up was forming the hem at the bottom of the shirt: turn 1/4", turn again 3/8" and edge stitch from the inside.
So - five button holes tomorrow evening will see my first shirt completed.  I think I'll probably make these on the 401K but I might try out some samples with the buttonholer rigged up on the 201K.  It would be nice to say that the finished shirt was 100% treaddled after all.

Tuesday 18 June 2013

Negroni Shirt - Part II

Today has been all about making the collar for my Negroni shirt.  I am echoing the pocket flaps with a contrasting under collar.


I wanted to be certain that the lighter coloured fabric would not be visible when the collar is turned down so I spent a bit of time boning up on "the turn of the cloth".  I trimmed about an eighth of an inch off three sides of the under collar in an attempt to ensure that it would not be visible from the "public" side.


I trimmed the seam allowances and  used a letter opener to gently shape the collar points.  They're not identical but very similar and probably as good as the points on some of my shop bought shirts.

Top stitching: Singer 201K, size 11 needle, 12 stitches per inch, Gütermann cotton thread.  This has to be one of the reasons why that model of machine is still so well thought of


I used the quarter inch side of the foot on my sewing machine to guide my top stitching.  One part is not as even as I would like but was too good to rip out.  Some things we live with right?

This piece of textile madness is the inner yoke and facing assembly.


I have interfaced both facings, stay stitched the curved edges of the yokes and facings, turned back and hemmed one edge of the facings and attached them to what will become the inner yoke.  The green linen look cotton might have been ok without the interfacing but I wanted to do things by the book (for the first shirt at least).  I have a feeling that the interfacing made it easier to turn and press the hem.  Something to remember for the future.

Well - so far so good?  Thank you all for looking at the blog.  A special thank you to those of you who have left comments, the encouragement is great and welcome to any new followers.  I hope you are all enjoying your sewing as much as I am at the moment!