Showing posts with label Accessories. Show all posts

Thursday 24 October 2013

Greist Buttonholer #1

This arrived last week.  It was just in time to make the buttonholes on the French back boxers.  I am rather taken with it for a number of reasons - the funky box is only one of them.


According to the back of the box Greist seem to have offered a bewildering range of buttonholers, no fewer than ten, to suit every conceivable sewing machine.  Make sure you get the right one.  For standard low shanks (like my Singers 15K, 28K, 99K and 201K) it's model #1.  If you're looking for a buttonholer to suit a Singer slant shank it's model #5.


Inside the box is the buttonholer itself;

cover plate and screw;

five button hole templates;

and (best of all in some respects) the instruction book.

The instructions are copyrighted 1966 so the buttonholer can't be any earlier than that although I am given to understand that Greist produced this design of buttonholer we'll into the 1980s.  I love the colour of the buttonholer and the instructions it looks very mid sixties to me.

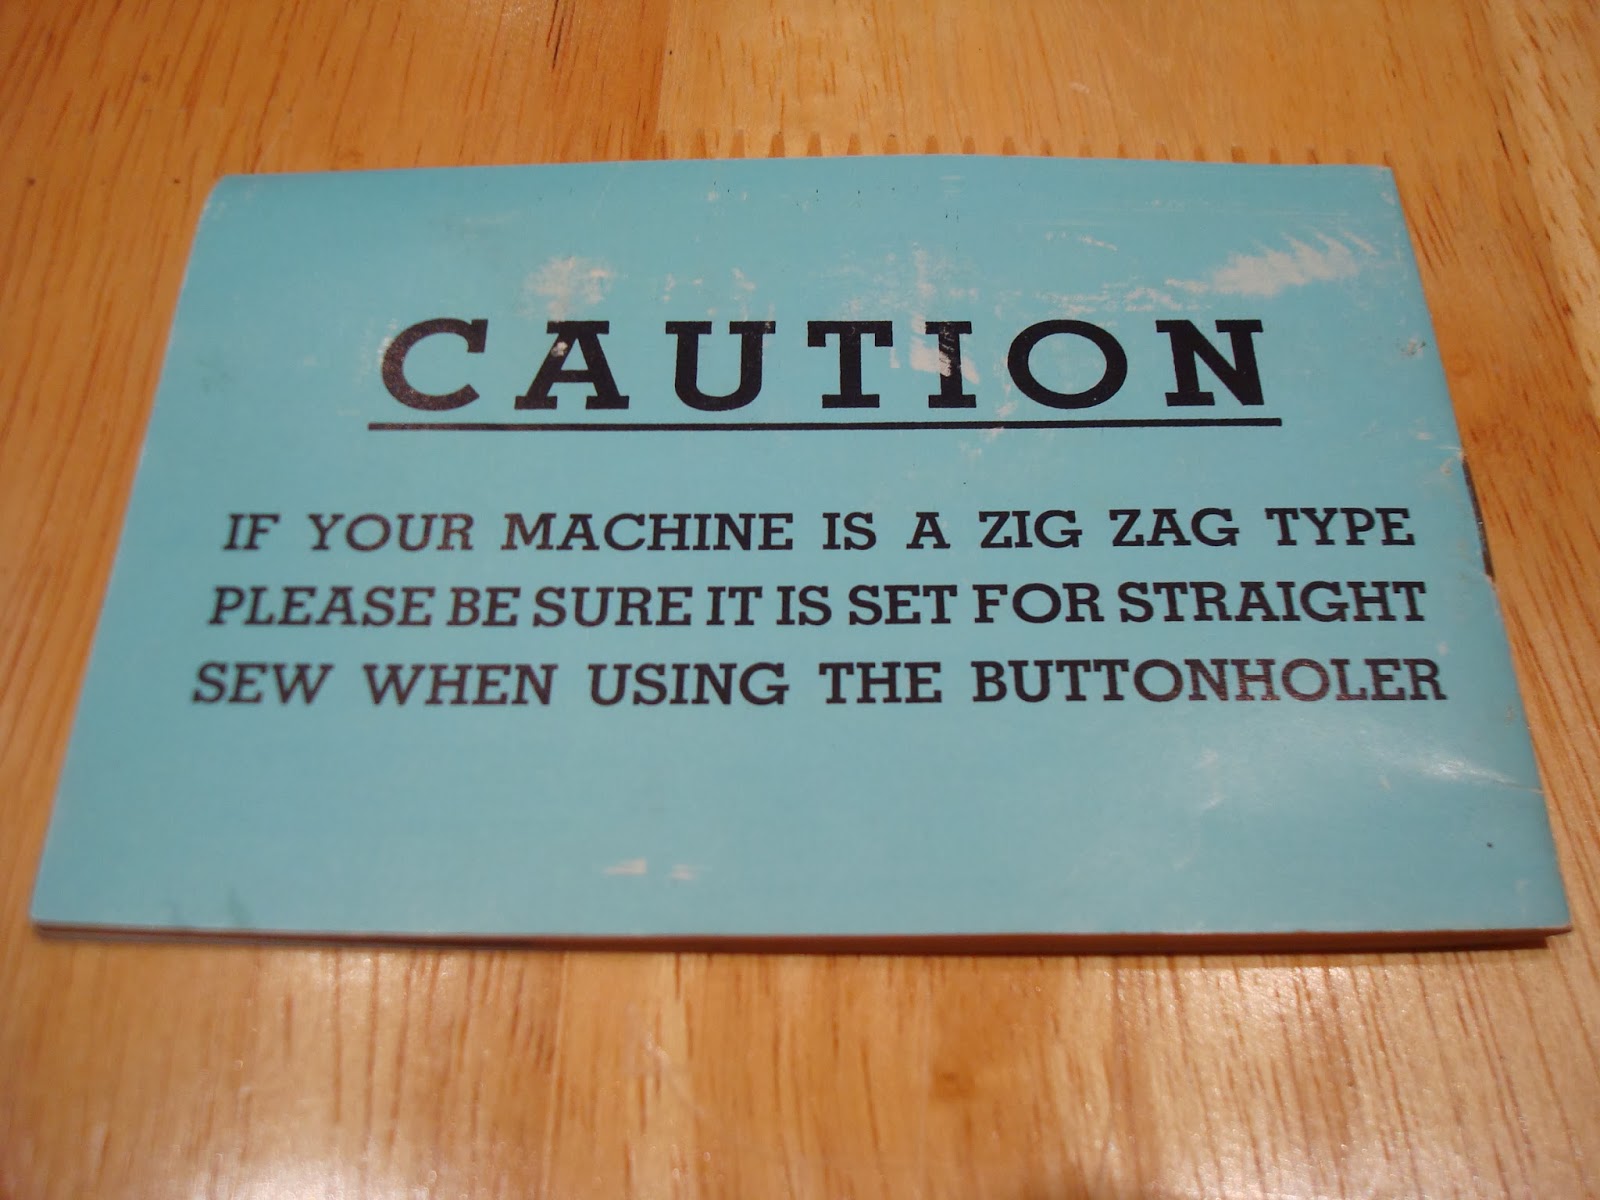
The instructions are really well written and even offers tips on what size thread and needles to use.  I was interested and delighted to read the following Special Note which I have never seen in a Singer instruction booklet!

This buttonholer should come with five templates - 5/16", 5/8", 13/16", 1 1/16" (straight and keyhole).  Mine came with a rather odd, but useful, mix 5/16", 1/2", 5/8", 7/8" keyhole and eyelet.  The templates are plastic but as far as I can gather earlier versions used pot metal ones and they are interchangeable.  Even better than that, Greist made buttonholers for Singer and the templates from these are also interchangeable.

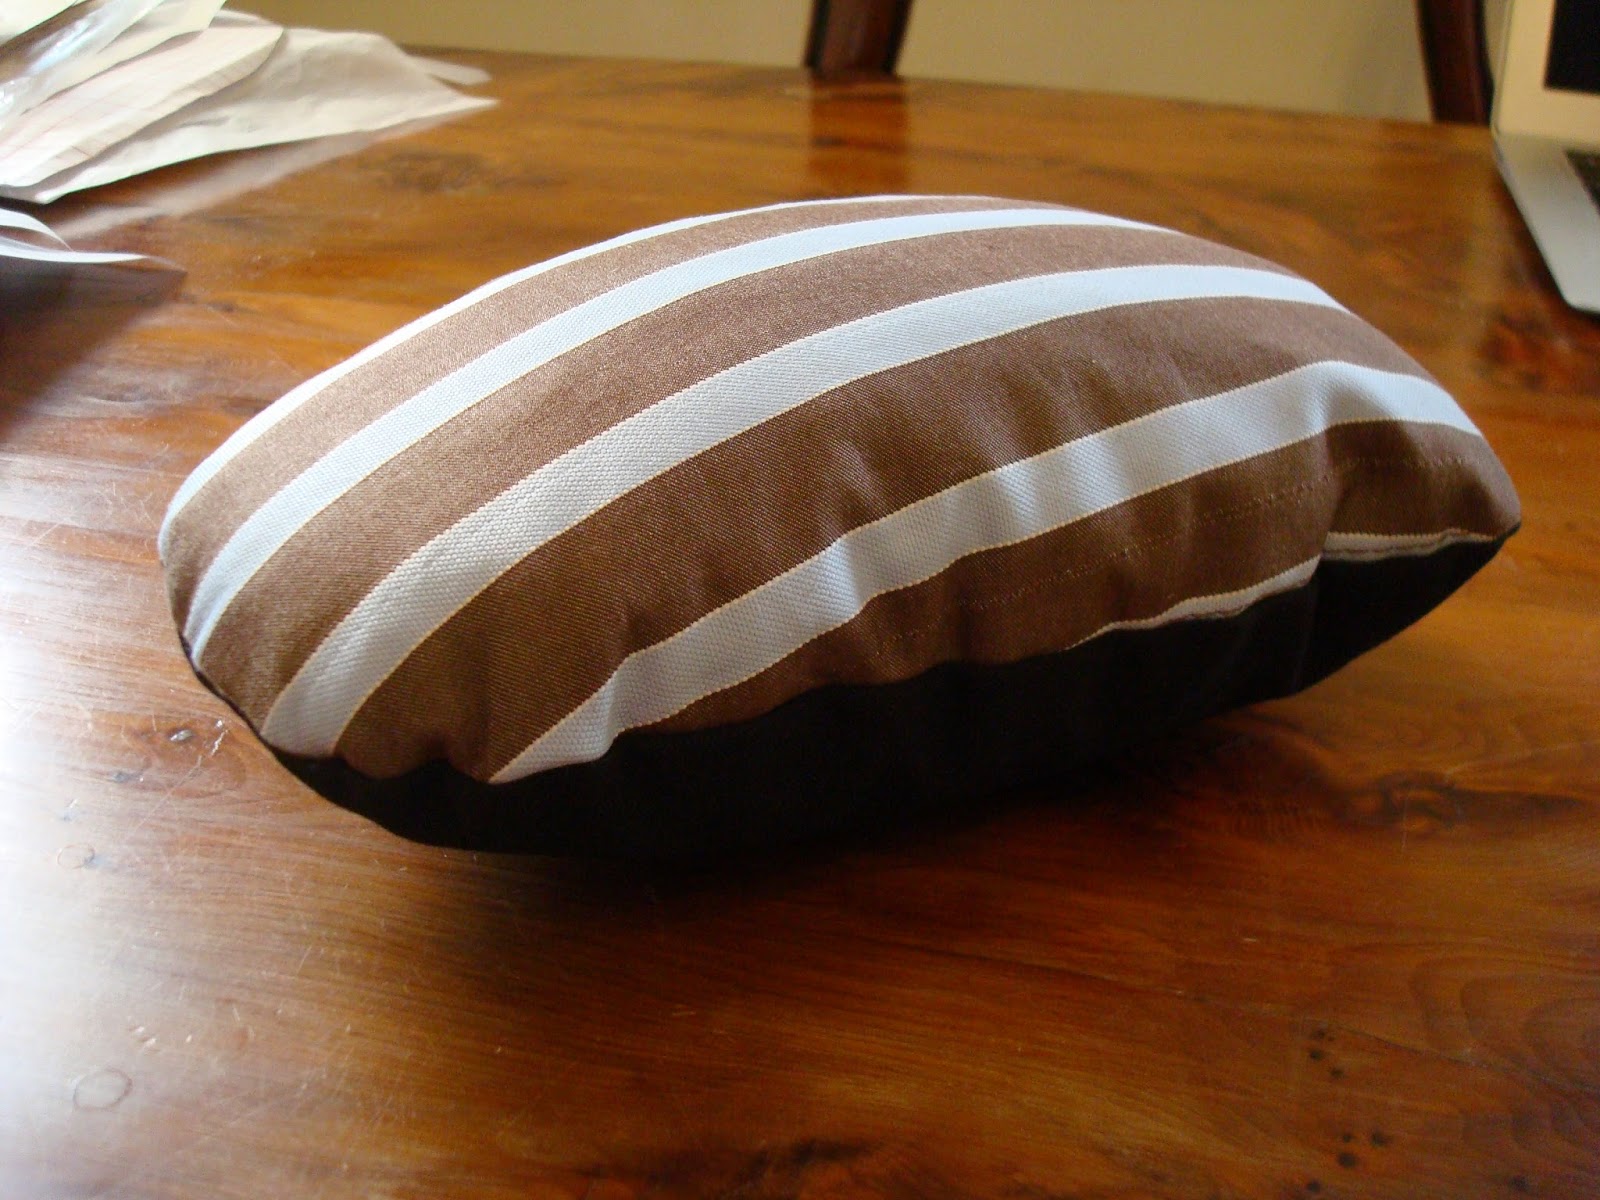
This buttonholer is smooth and surprisingly quite in use and makes great buttonholes.  I think this one is going to be getting a lot of use probably with the Singer 201K with dropped feed dogs.

I love the back of the instruction manual as a parting shot!

Saturday 12 October 2013

Wrap Around Pinny Finished

This is one of those sewing projects that stalled and would not restart for some time.  It was nearly finished for ages but now it is really finished.


If I had a dress form I could have shown this off a little better but the coat hanger give some idea.  The pinny crosses over at the front and ties with a slim bow at the back.


The two ties are secured at the waist with a rectangle of topstitching on the inside of the pinny.


The tie on the left front passes through a small gap in the side seam under the armhole on the righthand side of the pinny.  I reinforced this with some back and forward stitches rather than a worked buttonhole.  This is a utility garment after all.


The stalling point for me was the bias binding.  There must be about five yard of the stuff on this garment.  I made my own and first tried to attach it with the vintage binding foot on the Singer 99K.  The straights went well but it struggles with sharper curves and crossing seams.  I had to unpick the dodgy bits and go back over them with the regulars straight stitch foot.


I didn't even attempt it on the armholes.  I went out and bought a bias binder maker which is loads of fun to use and attached the binding by pinning and sewing once through all five layers.  Not the finest of finishes but fine for doing the dishes in.


Not that I will be wearing it for washing the dishes or scrubbing the front step.  It's far too small.  It has however provided me with practice using bias binding and probably the confidence to have a go at making a dressing gown sometime soon.

Sunday 18 August 2013

Seam Guidance or This one's for Matt C

Of all the sewing machine accessories I own (and they have rather mounted up here over the last year) the one I use the most is my seam guide.  This is probably because I use old black sewing machines with no markings on their throat plates.  To the best of my limited knowledge there are two basic types of seam guide.  The first is quite heavy, T-shaped, and pictured left.  This is the kind that tends to come with black japanned Singers with gold decals.  The second is made of lighter pressed metal and plastic and tends to be found with the later tan, pale green and duck egg coloured Singers.

Early type Singer seam guide
Later type Singer seam guide


Both types will screw into either hole in the machine bed of a black Singer sewing machine [say a Singer 66 for instance Matt]  I've taken pictures just to prove my point.  Notice that the later type can be swivelled about to allow for sewing curved seams.

If you have a zig-zag machine you can also use this type of seam guide to help with making a blind hem.  I haven't done it yet myself but this operation is on my experimental to-do list
Now this is not, as you might think, a six inch/15 cm ruler.  It is, in point of fact, a knitting and sewing gauge.  I know this because it has this written on one end of it.  This gadget, with its sliding marker, has a number of uses.  I use it a lot to set up the seam guides on my black Singers, none of which have markings on their throat plates.
Sewing and knitting guage

Now although these old Singer are not marked in the way that a modern machine would be there are landmarks if you know how to read them.  I've tried to illustrate the first here.  This is the front one of the two screws which actually hold the throat plate on to the bed of the machine.  Check out the seam gauge.  If you use the right edge of this screw as a reference point you'll be sewing a quarter inch seam allowance.  This is useful for those who piece quilt tops and other patchwork projects.


The next land mark is the mystery hole nestling snugly in the D-shaped throat plate.  Don't look for one of these if you have a VS machine like a Singer 28, 27, 128 or 127 because I don't think you will find one.  I'm not entirely sure what the intended purpose of this hole is.  I think it might be something to do with an under-braiding attachment sold by Singer.  The other interesting fact is that by using this hole as a seam guide you will be sewing a ⅝ seam which just so happens to be the industry standard for home sewing patterns.  Don't believe me?  Check the sewing gauge - handy eh?


Now, without the aid of the seam gauge, if you have the older type of seam guide and thumb screw you have two useful default settings.  The first I wrote about last time is for a ⅜ seam allowance and the second is achieved in the following way.  Set the thumb screw in the threaded hold nearest the throat plate and position the flat side of the seam guide as close to the thumb screw as possible.  This creates a spacing of one inch.  I suspect that this might well come in handy for turning hems.


Some people have seam guides and use them, some people have sewn beautifully for decades and have never seen a seam guide never mind used one.  They were a standard in the accessory boxes for Singer sewing machines so millions must have been stamped out over the years.  Bear this in mind if you are going to buy one.  I wouldn't want pay more than a couple of pounds for one.  It might be more cost effective to buy a job lot of accessories that include a seam guide - mixed lots turn up regularly on ebay.  If you can find one to buy cheaply or, even better, get one given to you you will have an easy to use accessory which will really earn its keep.


In parting I leave you with a link to one of Muv's (of Lizzie Leonard Vintage Sewing fame) excellent video tutorials.  If you're not familiar with her videos and blog check them out.  They are a priceless source for the care and use of vintage machines!  I cannot recommend them enough!


Thursday 27 June 2013

Negroni Shirt - Part VI


It's buttonhole time for the Negroni shirt.  I had a grim determination to finish the project on the 201K and I've never used the buttonholer on that machine so I decided it was time to give it a try.  The first thing to do was take the straight stitch presser foot off the machine.


Here is the 201K with the presser foot removed.  There's something really strange about seeing a familiar object with one tiny detail changed - a bit like seeing the cleanly shaven face of a usually bearded friend?

Interestingly the instructions of the buttonholer are to always use the cover plate and never to drop the feed dogs. I cannot imagine why this would be but I am a great one for doing as I'm told so here we are.  I make sure the needle passes through the slot in the cover plate and screw it down securely.


It takes a bit of jiggling to get the presser bar, buttonholer and needle clamp all lined up but here we are secure.


The two red plastic thumbscrews on the right of the machine allow one to adjust the "BIGHT" and "WIDTH".  The flat head adjustment screw for the stitch density is hidden in the triangular window in the body of the attachment.


Meanwhile, over on the other side of the attachment, the other small thumbscrew adjusts the length of the buttonhole.  In a middle position like this one the buttonhole comes out at about half an inch.  The larger screw advances the buttonholer through the perimeter of the buttonhole.


I made lots of sample buttonholes and even tried out the bar tack feature the attachment offers (centre top).  I had to play around a lot it's all fun trial and error stuff.  I found the belt of the machine slips a bit with the buttonholer adding extra drag so I may shorten it.


My finished button holes look okay and they work.  We'll see how they hold up to wear.


Saturday 15 June 2013

PJ Pants

Simplicity 0501 is a free download available here.  It's one of those patterns where you mess about printing it on 25 sheets of paper, match the sheets up, and stick them together with tape.


As this pattern only has two simple pattern pieces this is not too onerous a task but I don't think I'd be up for doing this with anything more complicated. Overlapping printer paper and tape make the pattern rather heavy but it all works.  I used shears to cut out.  I am not too good at curves with the rotary cutter.


The really great thing about this pattern are the lovely clear instructions. They really are written with the beginner in mind. I love the fact that they explain how to cut a double thickness of directional print by folding the fabric in half lengthways, cutting and then rotating one piece by 180 degrees - simple when you think about it right?


Those who have been following events here at Oil and Thread may remember that I wound a class 15 bobbin with navy thread ready for this project back in March! I remembered this and the as the Singer 15K was still out from making the tailor's ham the choice of machine for this project was automatic.


The first step, having cut out the fabric, is to make two button holes, near the waist, for the draw string. I usually like to make button holes with an automatic Singer buttonholer (the kind that takes a template) on my Singer 401G. This attachment (which is fab and I will show you someday) only fits Singer slant shank machines. I didn't want to drag out and set up another machine so I thought it better to try out this buttonholer, also made by Singer, which fits standard low shank sewing machines.

Singer 15 with button hole attachment
Add caption
As far as I know this model of buttonholer is more common in the UK and Australia.  It is the cream and red, face-lifted, version of the type where buttonhole length, width, bite and stitch length are all independantly adjustable.  This means that making sample buttonholes is a must!  It's a little scary but I work systematically. Get the lenth right first, then the width and the bite need to be adjusted in close conjunction with each other to produce an acceptable buttonhole. My aim, based on the pattern markings, was a half inch button hole that was wide enough for me to cut with my seam ripper and embroidery scissors.  It took me four goes to produce something I thought garment-worthy.

Button hole, bottom left passed the test!

I remembered to strengthen the button holes with interfacing saved from the cuffs of the white shirt I repurposed to make the log cabin quilt.  It's sew in rather than fusible.  I don't think that this will matter.


I am a happiest working with straight stitch machines and a real fan of flat felled and French seams so I deviated from the pattern instructions which suggested pinking and overcasting the seam allowances.  I sewed the inside leg seams, wrong sides together so that my flat felled seams would appear as a design detail on the outside of the garment.


This leaves the inside, which will be in contact with the wearer, as smooth and flush as possible.


The new tailors ham made pressing the seams so much easier.  I am a convert!

I am really happy with the way these have turned out.


Tuesday 11 June 2013

Hamming It Up!

One of these days I am going to make a shirt and with this in mind I have been reading and re-reading Peter's sew along at Male Pattern Boldness.  One of the notions I have read about in David Coffin's book and Peter's blog is the tailor's ham.  This item is intended to make the pressing curved seams easier.  There are those who say it's very difficult to manage without one.  With all of the advice dancing in front of my eyes I decided to see if it would be possible to make a ham all of my very own.

There are dozens of tutorials on how to make your own tailor's ham.  I found this one at Chance of Rain which has an easy to print pattern piece and clear photo strip instructions.


The ham is made up of three layers of calico, one of cotton poplin and one of wool [?crepe?].  Here I have tacked the layers together and am now sewing them right sides facing.  It's a while since we've seen the Singer 15K80 so I thought I would give it an airing.  It sailed through the layers like a hot knife through butter.  I back tacked the ends of the seam by turning the work in the machine.  Not my favourite way be easy to do with small goods like the ham-shell.


Here is my ham-shell after clipping the seam allowance and turning.  The pattern advises keeping clipping to an absolute minimum so as not to weaken the seam.


Anyone for porridge?  No it's wood shavings - well softwood bedding to be exact. It's cheap enough and easier to find here than your actual sawdust. It has a wonderful smell that reminds me of my Dad.


Here is my ham after I had stuffed and sewn it shut.  The finished size is approximately six by nine inches.  I'm not sure if I got it stuffed full enough but it feels pretty firm.  I'm looking forward to seeing if it is large and curvy enough to be useful.  


There's something quite cute about a tailor's ham don't you think?  It's certainly tactile.  I can now see why they used to stuff soft toys with sawdust!


Thursday 6 June 2013

Singer Black Box

This box of tricks arrived here a few weeks ago, hot on the heels of the Singer 99K.  Up until now I haven't made time to photograph it but yesterday evening the light was quite good so I got to work.


It's full of shiny goodies.  This mass of twisted metal is the standard kit that would have been supplied with a Singer sewing machine when new.  


This particular set has three class 15 bobbins which would tend to indicate that it once belonged with a 15 machine.  I understand that the ones for Singer 66, 99 and 201 had the same kit but with class 66 bobbins.  As far as I can tell the attachments should fit any low shank machine.  Instructions on how to use all these attachments was included in the second half of the manuals that came with the machines.

15 class bobbins
large and small screwdrivers

quilting foot and guide
slotted binder foot
seam guide and fixing screw

tuck marker

narrow hemming foot
I am not yet confident that I can remove all of the contents from the box and manage to get them back in the right place so I took the attachments  out one by one to photograph and identify them.  Some I am familiar with, some I have used and like and some I am looking forward to trying out for the first time.  Who fancies my chances quilting the Baby Fence Rail Quilt on the Singer 201k with the help of this quilting foot?
adjustable hemming foot

ruffler foot

under braider