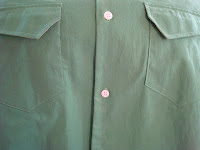
It's buttonhole time for the Negroni shirt. I had a grim determination to finish the project on the 201K and I've never used the buttonholer on that machine so I decided it was time to give it a try. The first thing to do was take the straight stitch presser foot off the machine.
Here is the 201K with the presser foot removed. There's something really strange about seeing a familiar object with one tiny detail changed - a bit like seeing the cleanly shaven face of a usually bearded friend?
Interestingly the instructions of the buttonholer are to always use the cover plate and never to drop the feed dogs. I cannot imagine why this would be but I am a great one for doing as I'm told so here we are. I make sure the needle passes through the slot in the cover plate and screw it down securely.
The two red plastic thumbscrews on the right of the machine allow one to adjust the "BIGHT" and "WIDTH". The flat head adjustment screw for the stitch density is hidden in the triangular window in the body of the attachment.
Meanwhile, over on the other side of the attachment, the other small thumbscrew adjusts the length of the buttonhole. In a middle position like this one the buttonhole comes out at about half an inch. The larger screw advances the buttonholer through the perimeter of the buttonhole.
I made lots of sample buttonholes and even tried out the bar tack feature the attachment offers (centre top). I had to play around a lot it's all fun trial and error stuff. I found the belt of the machine slips a bit with the buttonholer adding extra drag so I may shorten it.
My finished button holes look okay and they work. We'll see how they hold up to wear.


