Saturday 10 August 2013

All of the things that stopped me blogging

Hello readers!

What's that I hear?  Total silence?  There are probably none of you left as I haven't posted a word since I finished the Negroni shirt back in June.

Negroni shirt being worn on Cape Cod
So what has been happening since then?  Well I left my job, moved house, went on holiday, came back and started a new job.  So not much then really.

So the bad news is that I haven't had a lot of time to sew and therefore nothing much to blog and the good news is my new home has, or will have, a designated sewing space.

This muddle is my outstanding unpacking and the space will be the sewing room.


So the target for next week is to unpack, declutter, plan and arrange this room.  I still have an owl quilt to finish and that due date is getting closer and closer!

Saturday 29 June 2013

Negroni Shirt - Part VII

Negroni 1 is finished so I got TMB to take some pictures of it (and me).


There's something weird going on with my right shoulder.  I am supposing that this is to do with the mistake I made on that side of the collar.  


The next pictures show off the contrasting under collar and the weirdness where the right shirt front, outer yoke and under collar meet


I would shorten the sleeves, maybe as much as two inches, if I made this shirt again and use real shirting because I think that it would improve the drape.


I think the back isn't bad but could benefit from a good pressing.  Maybe the yoke is a shade wide for me?  I think I will make more shirts in the future.  I've enjoyed the challenge and the experience.  I would like to try Negroni again and hopefully improve on this first effort.  I think the first issues to address are my technical short comings and then look at fit.

Thursday 27 June 2013

Negroni Shirt - Part VI


It's buttonhole time for the Negroni shirt.  I had a grim determination to finish the project on the 201K and I've never used the buttonholer on that machine so I decided it was time to give it a try.  The first thing to do was take the straight stitch presser foot off the machine.


Here is the 201K with the presser foot removed.  There's something really strange about seeing a familiar object with one tiny detail changed - a bit like seeing the cleanly shaven face of a usually bearded friend?

Interestingly the instructions of the buttonholer are to always use the cover plate and never to drop the feed dogs. I cannot imagine why this would be but I am a great one for doing as I'm told so here we are.  I make sure the needle passes through the slot in the cover plate and screw it down securely.


It takes a bit of jiggling to get the presser bar, buttonholer and needle clamp all lined up but here we are secure.


The two red plastic thumbscrews on the right of the machine allow one to adjust the "BIGHT" and "WIDTH".  The flat head adjustment screw for the stitch density is hidden in the triangular window in the body of the attachment.


Meanwhile, over on the other side of the attachment, the other small thumbscrew adjusts the length of the buttonhole.  In a middle position like this one the buttonhole comes out at about half an inch.  The larger screw advances the buttonholer through the perimeter of the buttonhole.


I made lots of sample buttonholes and even tried out the bar tack feature the attachment offers (centre top).  I had to play around a lot it's all fun trial and error stuff.  I found the belt of the machine slips a bit with the buttonholer adding extra drag so I may shorten it.


My finished button holes look okay and they work.  We'll see how they hold up to wear.


Tuesday 25 June 2013

Negroni Shirt - Part V

Thank you all for the comments over the last couple of days. Your sound counsel has kept me going with my Negroni. I have heeded your advice, and my gut instinct, and ploughed on with what is, and even from the outset was intended to be, a practice piece.

Since my last post I have attached the sleeves to the shirt with a flat felled seam as per the directions.  This didn't go too badly.  Nice clear directions that really work.
The sleeves went in quite well. The sleeve cap of the first was a little longer than the armscye (maybe 3/4"?) but the second was very nearly an exact match.

This is not my best work (I have lost my parallel  on this top stitching) but as I look again at the pictures it's really not that bad either.  
I have sewn up the side seams. This picture is taken from the inside of the shirt (note the outline of one of the pockets). I went to a bit of bother to try and get these right. There is a slight tuck where the side seam crosses the armscye seam. That point was the tricky bit. The difficulty  I experienced there made me want to examine the ready to wear shirt I was wearing more closely. The seam I found under the arm of my factory made shirt made me feel better about my own work.

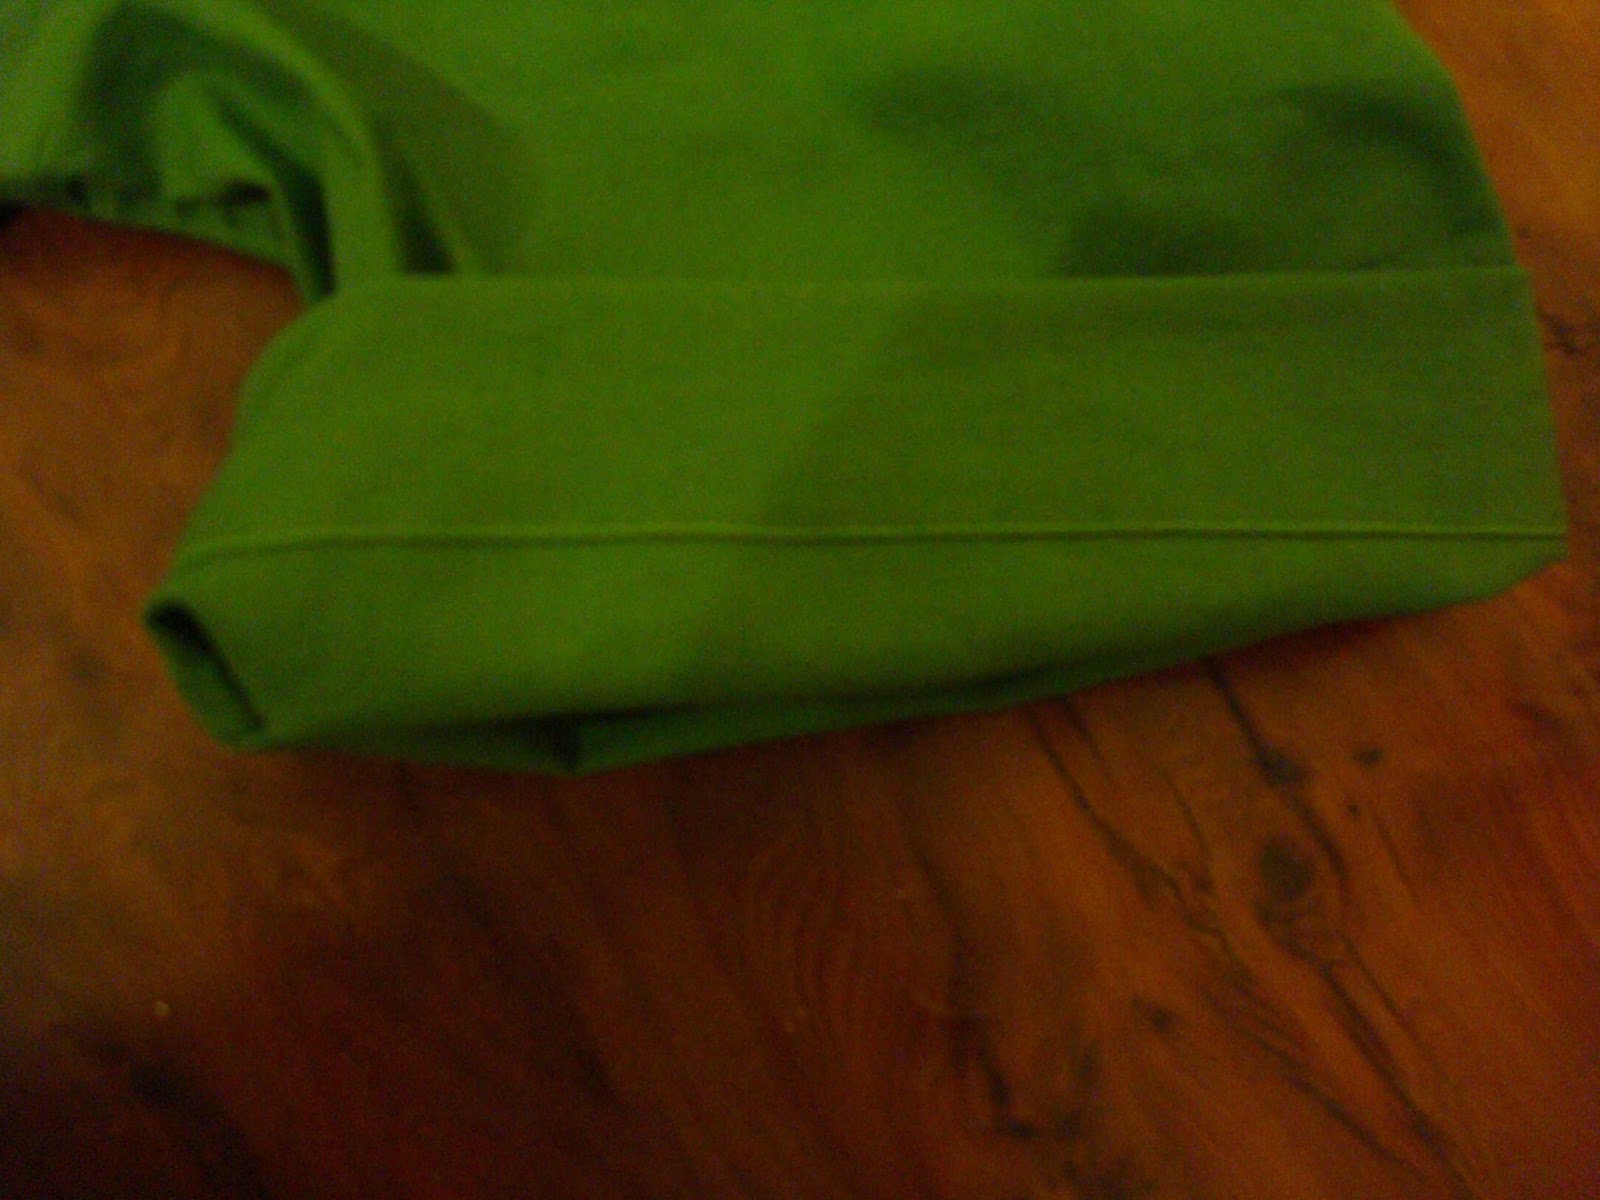
Next up were the sleeve hems.  Back on familiar territory and back on song with my stitching.  Both sleeves are the same length and the same width!
Last up was forming the hem at the bottom of the shirt: turn 1/4", turn again 3/8" and edge stitch from the inside.
So - five button holes tomorrow evening will see my first shirt completed.  I think I'll probably make these on the 401K but I might try out some samples with the buttonholer rigged up on the 201K.  It would be nice to say that the finished shirt was 100% treaddled after all.

Friday 21 June 2013

Negroni Shirt - Part IV

Yoke's no Joke - that's the terrible pun out of the way and here's the rub.  I really struggled with getting the facings and innner yoke attached to the outer yoke.  It has taken me two and a half goes to get to this stage.


Go No1:  I pinned  the facings and yoke and machined with them on top. It looked like there was some ease to manage around the neck but, as it was lying on the feed dogs I thought they would take care of it. First time around left me with three dirty great puckers in the outer yoke and a small one in the under collar - YUK. I ripped out the neck seam and tried again.

Go No2: I didn't pin. I just aligned the raw edges and followed the dots left by my ripped seam.  Took it very slowly, lifting the presser foot, smoothing things  down and realigning the edges frequently, every half inch or so.  Things went much more easily without the pins to worry about and I felt I could see and feel whether the bottom layers were lying flat. I only ended up with one small pucker this time which I spotted early on so I only had to rip out about an inch and a half to get the outer yoke flat.

Go No3:  Produced what we see in the pictures.

It's not bad but it's not right.  Some how the collar has shifted or my seam allowance got narrower because less of the right half of the collar is enclose by the shirt front and facings than the left.

 
This also means that the lapel notch on the right shirt front is about a quarter of an inch longer than on the left.  This is very noticeable when I place the lapels and collars point to point but less so when the shirt is on (I think).


Now. What to do? Should I rip out a short length of the collar and try to even things up by burying it further beteween the yoke and facing?  Could this be a recipe for disaster?  Should I chalk this collar up to experience, be mindful of what has happened here when making the next shirt and live what I have?  Is it wearable or does it SCREAM?


Thursday 20 June 2013

Negroni Shirt - Part III

Here at Oil and Thread things hotting up with the Negroni shirt and I am beginning to feel the pressure!

The first job today was to pleat the back of the shirt...


... and baste [tack?] the pleats in place.  I used the longest stitch setting on the Singer 201K which runs to six stitches per inch or four millimetres in "new money"


Then I sewed the outer yoke to the back of the shirt.  I'm always sort of surprised as my projects begin to resemble the garments they are supposed to be but this really does look like the back of a shirt!


Adding the shirt fronts was fairly straight forward.  I couldn't resist draping this shirt-like item over my shoulders - just to see.


Then I waded straight in and added the collar to the back yoke.  So far everything is lining up pretty well, notches, circles etc.  The directions are to "Baste the collar in place, using a 3/8" seam allowance". This has been the hardest step so far.  I think the problem arises from the need to attach a curved edge (the neck line) to a straight edge (the collar) coupled to my inexperience.  My last job today was to baste a small loop for the top button onto the left shirt front.  You might be able to spot it under the mass of thread.


That's all for today.  The next step; Attaching the facing and inner yoke looks like a biggie and I think I need to come to it fresh.  We'll see how it goes.

Tuesday 18 June 2013

Negroni Shirt - Part II

Today has been all about making the collar for my Negroni shirt.  I am echoing the pocket flaps with a contrasting under collar.


I wanted to be certain that the lighter coloured fabric would not be visible when the collar is turned down so I spent a bit of time boning up on "the turn of the cloth".  I trimmed about an eighth of an inch off three sides of the under collar in an attempt to ensure that it would not be visible from the "public" side.


I trimmed the seam allowances and  used a letter opener to gently shape the collar points.  They're not identical but very similar and probably as good as the points on some of my shop bought shirts.

Top stitching: Singer 201K, size 11 needle, 12 stitches per inch, Gütermann cotton thread.  This has to be one of the reasons why that model of machine is still so well thought of


I used the quarter inch side of the foot on my sewing machine to guide my top stitching.  One part is not as even as I would like but was too good to rip out.  Some things we live with right?

This piece of textile madness is the inner yoke and facing assembly.


I have interfaced both facings, stay stitched the curved edges of the yokes and facings, turned back and hemmed one edge of the facings and attached them to what will become the inner yoke.  The green linen look cotton might have been ok without the interfacing but I wanted to do things by the book (for the first shirt at least).  I have a feeling that the interfacing made it easier to turn and press the hem.  Something to remember for the future.

Well - so far so good?  Thank you all for looking at the blog.  A special thank you to those of you who have left comments, the encouragement is great and welcome to any new followers.  I hope you are all enjoying your sewing as much as I am at the moment!